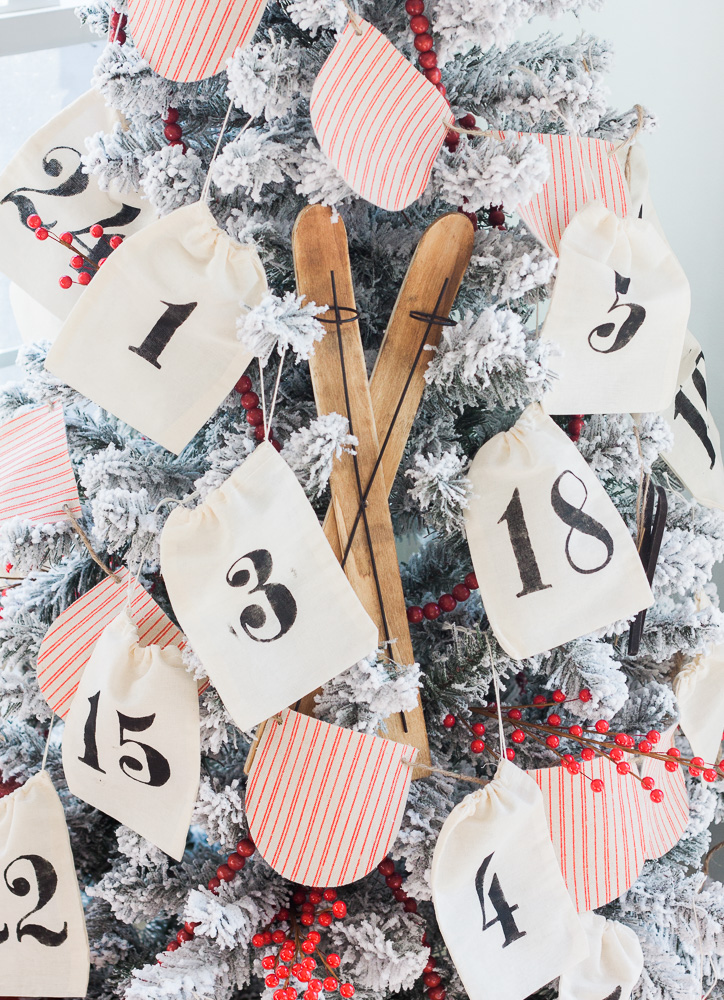
The halls are decked for Christmas and I am wrapping up a few more DIY Christmas decor projects before I share our Christmas home tour! I love handmade Christmas decor, it’s so fun to create and it’s great when you’re on a budget. Today I am sharing these adorable DIY Advent Calendar Bags with you! They are super easy and affordable. I have also provided a free SVG stencil for the numbers to make it even easier for you!
Disclosure: This post may contain affiliate links, which means we may receive a commission if you click a link and purchase something. Please check out our disclosure policy for more details.
DIY Advent Calendar Bags
You Will Need:
– 4″x6″ Muslin Bags 25ct. (these if you want a little pop of red)
– Cotton Balls
-Clothes Pin
-Paper Plate
– Sheet of Paper
Instructions:

You will need 25 muslin bags for this project. I bought mine on Amazon here, but they also have some with a little red stitching here. So cute!
-
- First, cut your SVG stencil file using a die cutting machine such as a Silhouette or Cricut. If you do not have one of those machines, no worries there are similar number stencils available here and here. **For detailed instructions on how to open your file and prepare it for cutting you can visit this tutorial.

- Next, take a single sheet of printer paper and fold it in half twice so that is it quarter-sized. Insert it into your bag to prevent paint bleeding through to the back.

- Once your stencil has been cut, carefully peel the outer vinyl (leaving the number on the backing paper) and apply it to your bag (make sure to center your number evenly between the edges of the bag). Then, press down firmly around the inner edges of the stencil to prevent the paint from bleeding underneath the stencil.
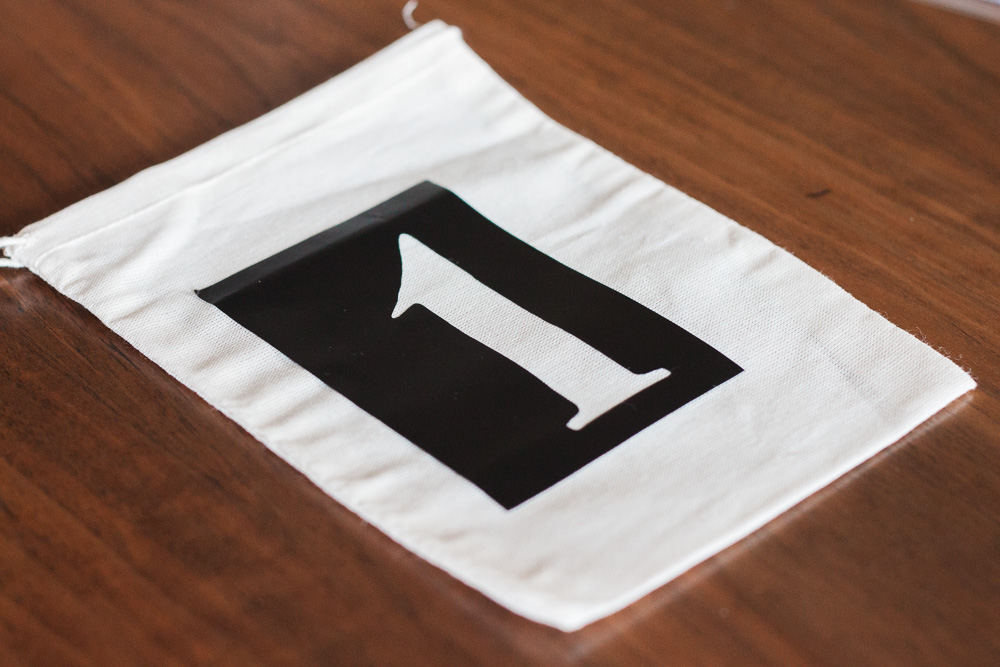
- Squeeze out some black acrylic paint onto your paper plate (I just used the Delta Creamcoat black paint that I have had forever).

- Take your clothes pin and pinch a cotton ball on the end, make sure to leave a fair amount of cotton sticking out past the end of the clothes pin.
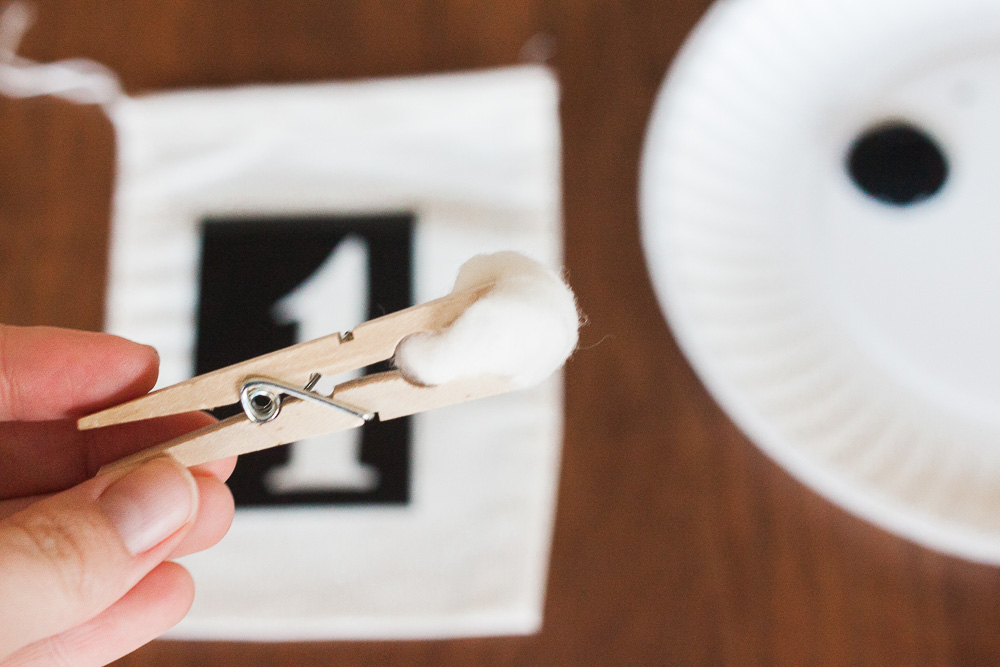
- Then, take your clothes pin and cotton ball contraption (that I will be referring to as your “dabber” from now on), and lightly dip it in your paint.

- Next, dab off a fair amount of the paint onto the plate, to make sure that the dabber does not have too much paint on it.
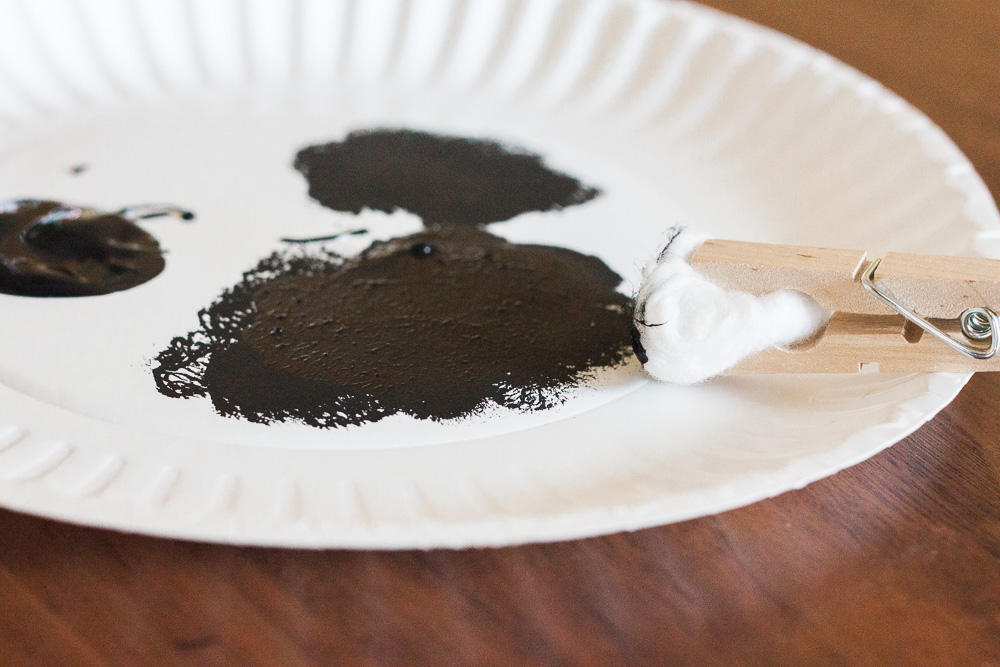
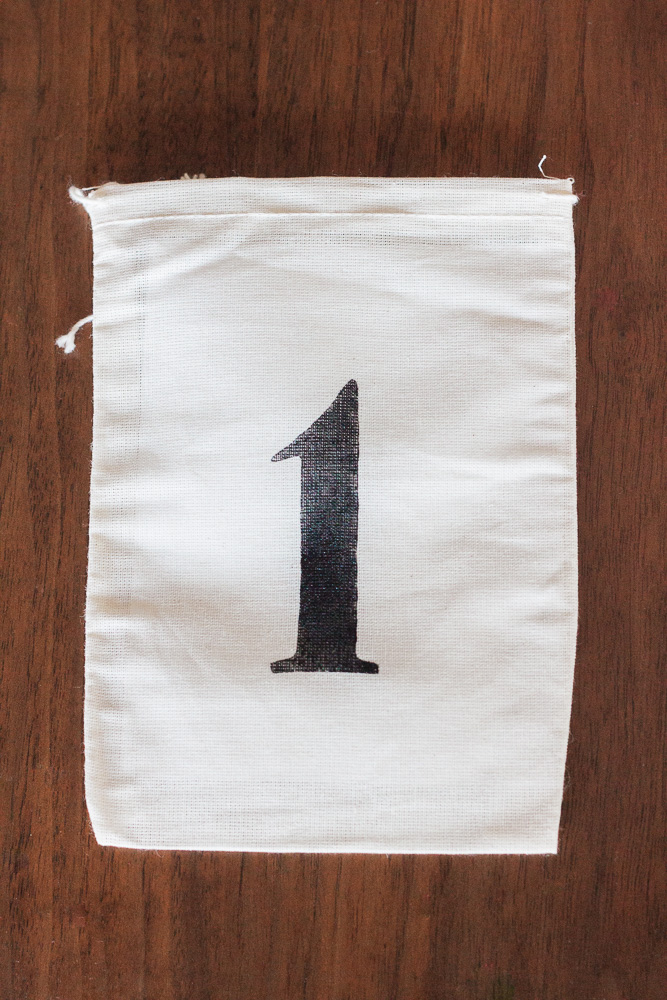
- Then, using your dabber, lightly apply the paint to your stencil. You may need to reapply the paint a few times to fill it in all the way. I chose to go for a more distressed look, so I did not fill my numbers in completely.
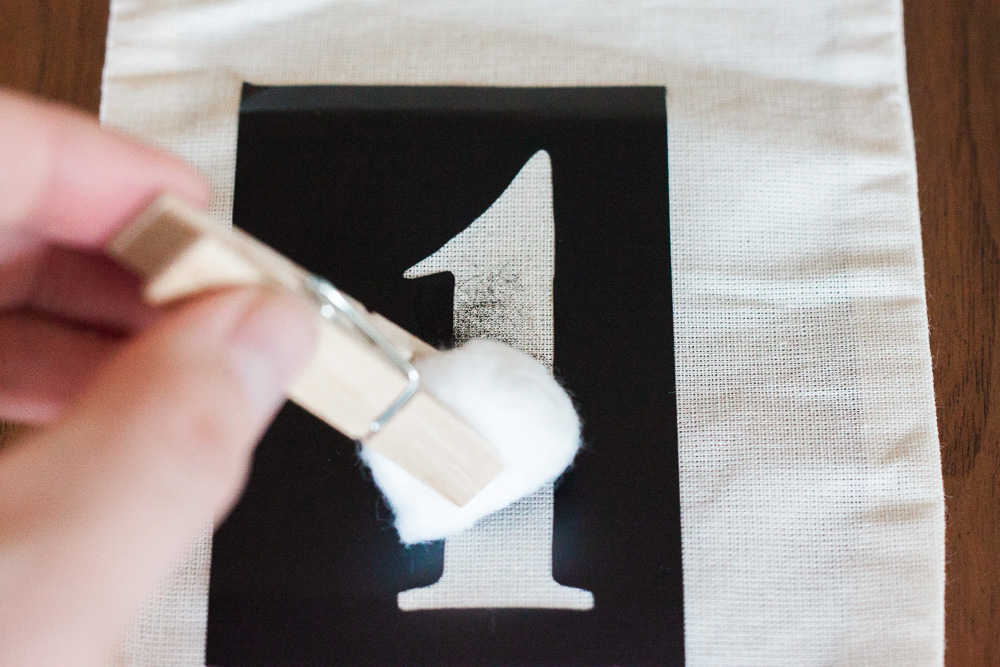
- Finally, once you have filled in your number as desired, gently peel off the stencil.
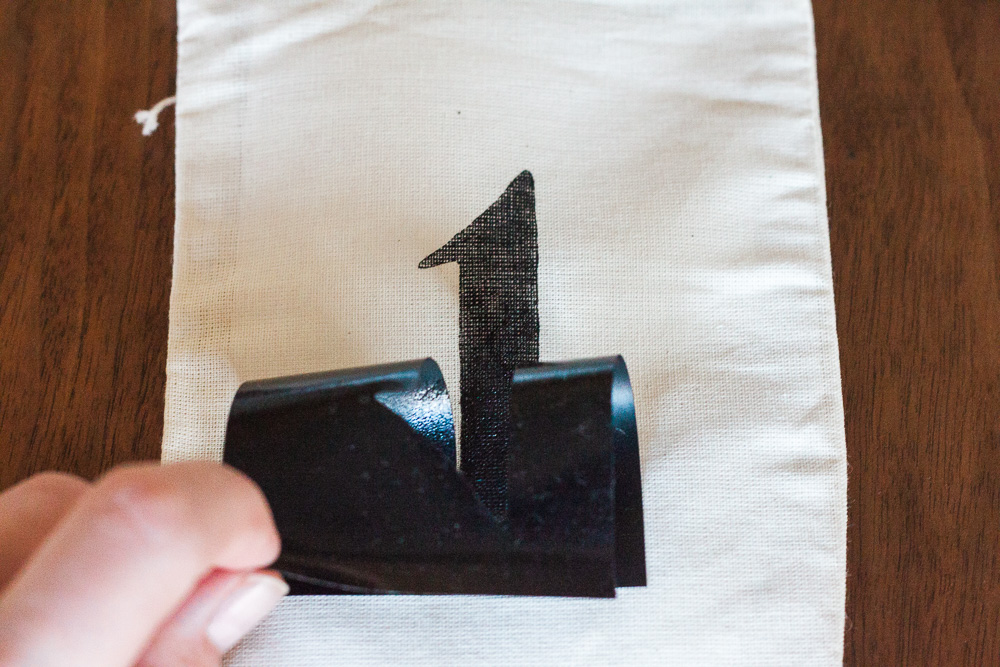
- Voila! That’s it. Easy right?!
- First, cut your SVG stencil file using a die cutting machine such as a Silhouette or Cricut. If you do not have one of those machines, no worries there are similar number stencils available here and here. **For detailed instructions on how to open your file and prepare it for cutting you can visit this tutorial.
I found the following method to be the most efficient when making the bags: single digit number first, then 10s, then if applicable 20s. So for example I would make my #3 bag, then I would make the #13, and then #23. Then I would make my #4 bag, then #14, then #24. Make sense? Once you get past #5 it gets even easier, because you only have two bags to make with each number!






Leave a Reply