Wow! It feels like FOREVER since I got to sit down and write a blog post for you all. In reality it has only been a little over a week but in blogging years that’s an eternity. I would give you all the excuses for why I have been MIA but I will just give you the biggest one: my computer CRASHED! We are taking dead as a door nail, no pulse, call the genius bar because this thing is a goner! It was a little touch-and-go there for a few days not knowing if I could get all my precious files off of it but alas we were able to recover everything. Deep sigh of relief! Lesson learned my friends, BACK YOUR STUFF UP!
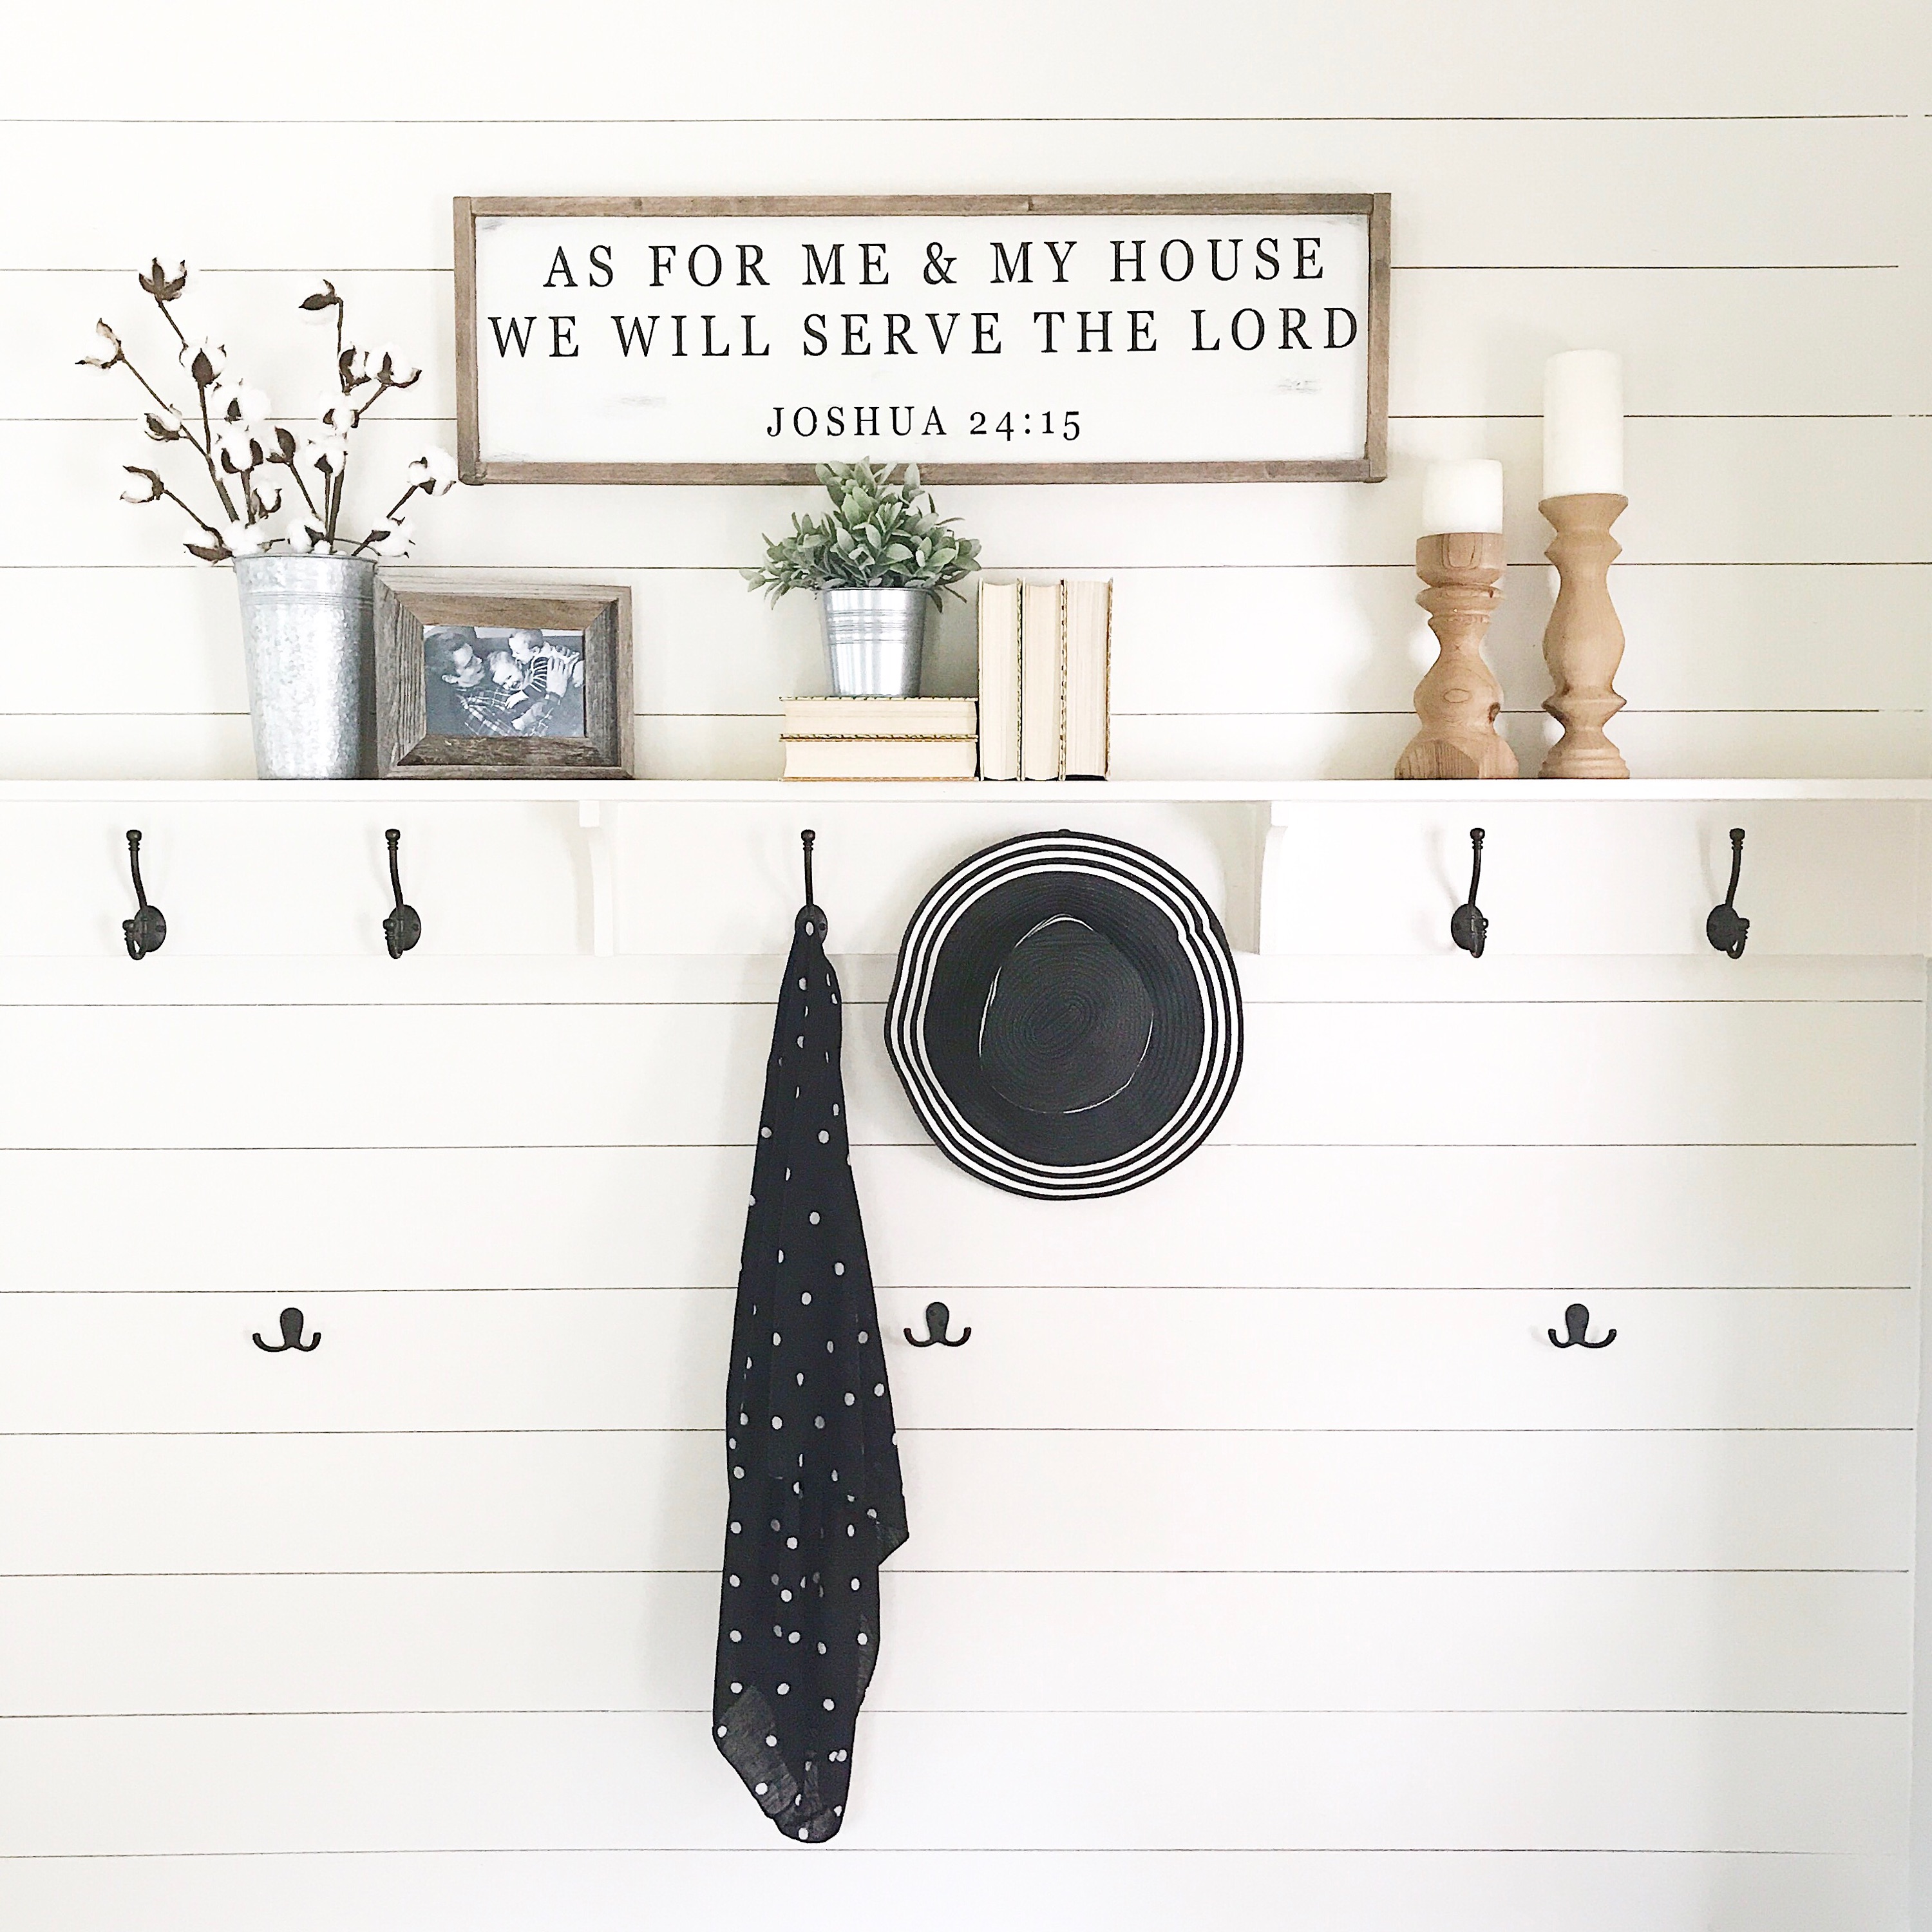
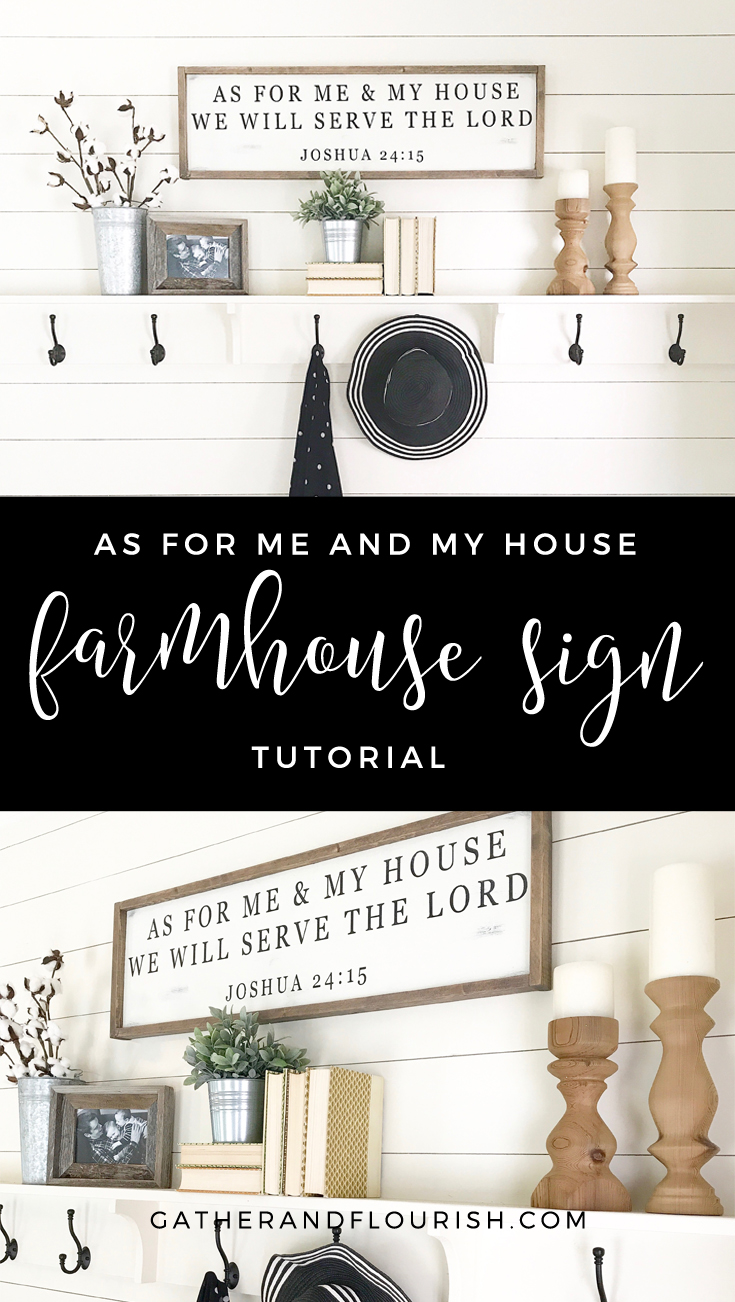
Now that I am up and running again, I am finally sharing my tutorial for how I made my “As For Me and My House” farmhouse sign that I have been showing off on my Instagram feed. It is so easy using my SVG cut files! If you missed the big news, I have opened an Etsy shop! I will be adding more cut files and other printables, so make sure you are subscribed to my email list so you are the first to know about new products!
Disclosure: This post contains affiliate links, which means I may receive a commission if you click a link and purchase something. Please check out our disclosure policy for more details.
As For Me and My House Farmhouse Sign Tutorial
Materials
- 1/4″ sanded plywood cut to (size 35.25″ x 9.5″)
- 1″ x 2″ pine board for frame
- Antique White General Finishes Milk Paint
- Black General Finishes Milk Paint
- Dark Walnut Minwax Stain
- Classic Gray Minwax Stain
- Circular Saw
- Miter Saw or Hand Saw
- Brad Nailer or Hammer
- Sandpaper (optional)
- Sign Stencil SVG Cut File
- Adhesive Vinyl or Contact Paper
- Transfer Tape
Instructions
- Cut the 1/4″ plywood to size using a circular saw or table saw. If you do have either of these saws you can get the piece cut to size at your local hardware store.
- Once your piece is cut to size I like to give it a light sanding using a fine grit sandpaper to make sure it’s extra smooth. Then clean the surface thoroughly before this next step.
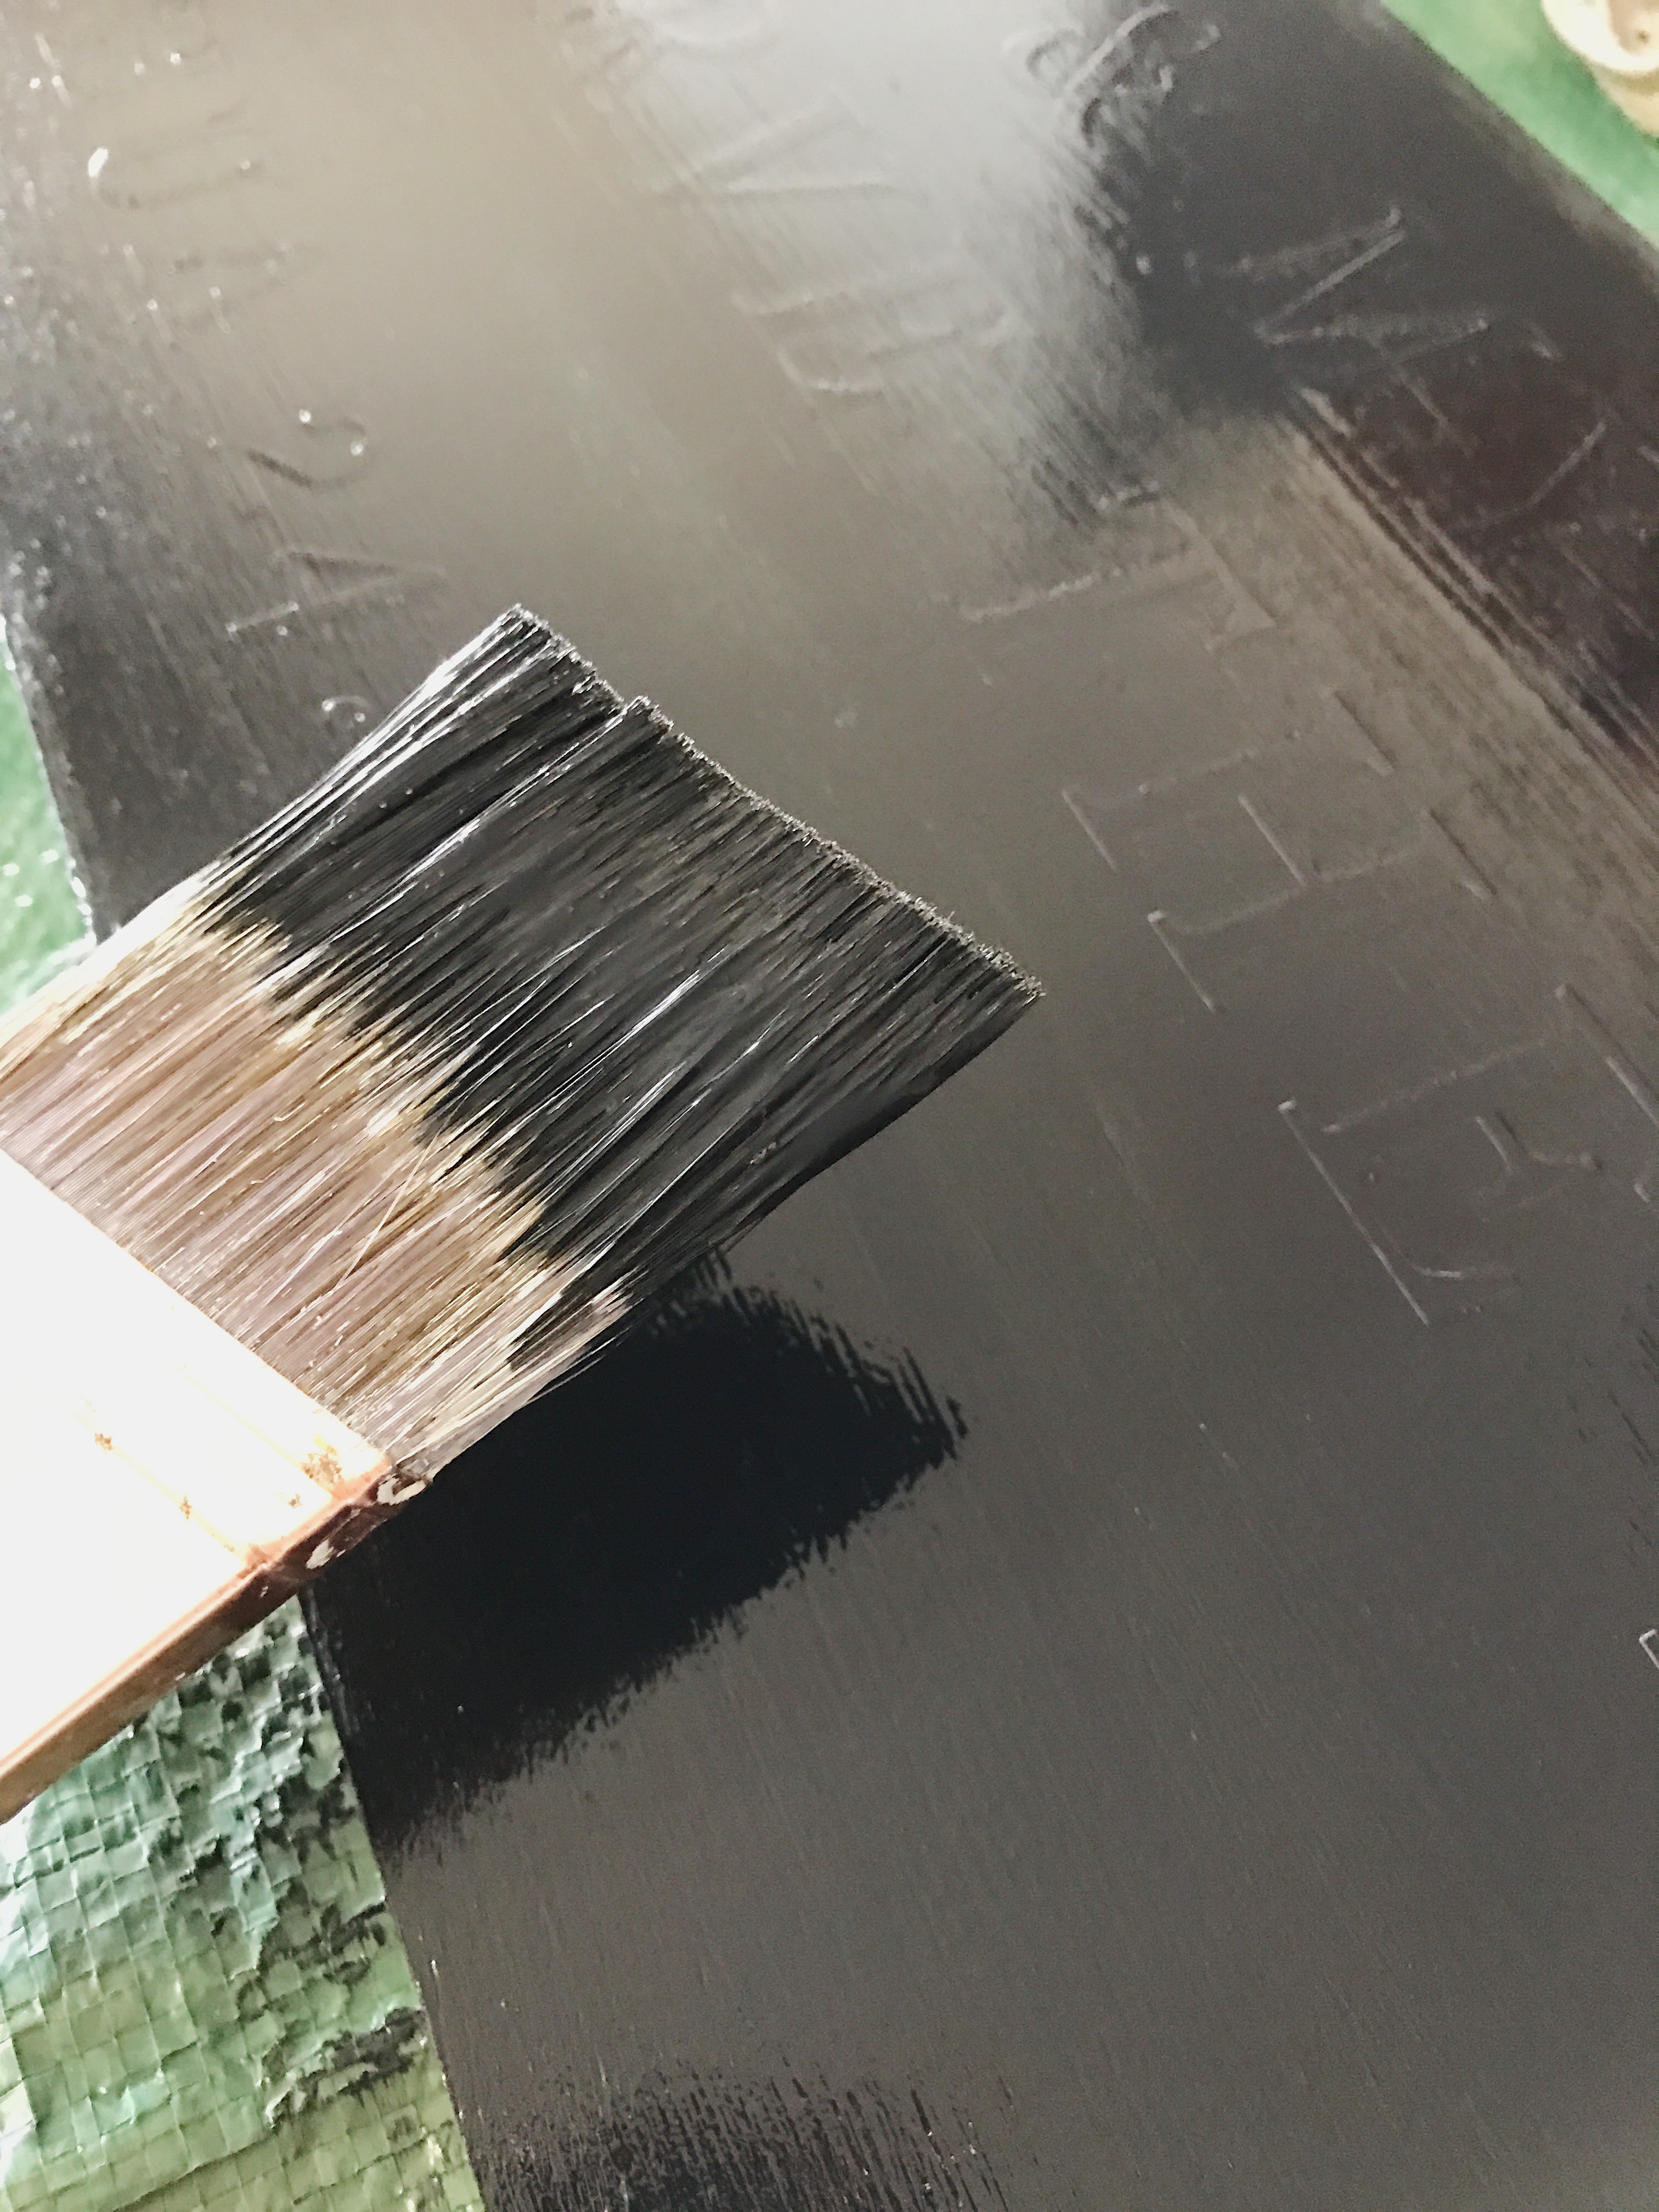
- Paint the whole board with your black paint and let dry. You may recall me using a similar technique for my Laundry Co. Sign.
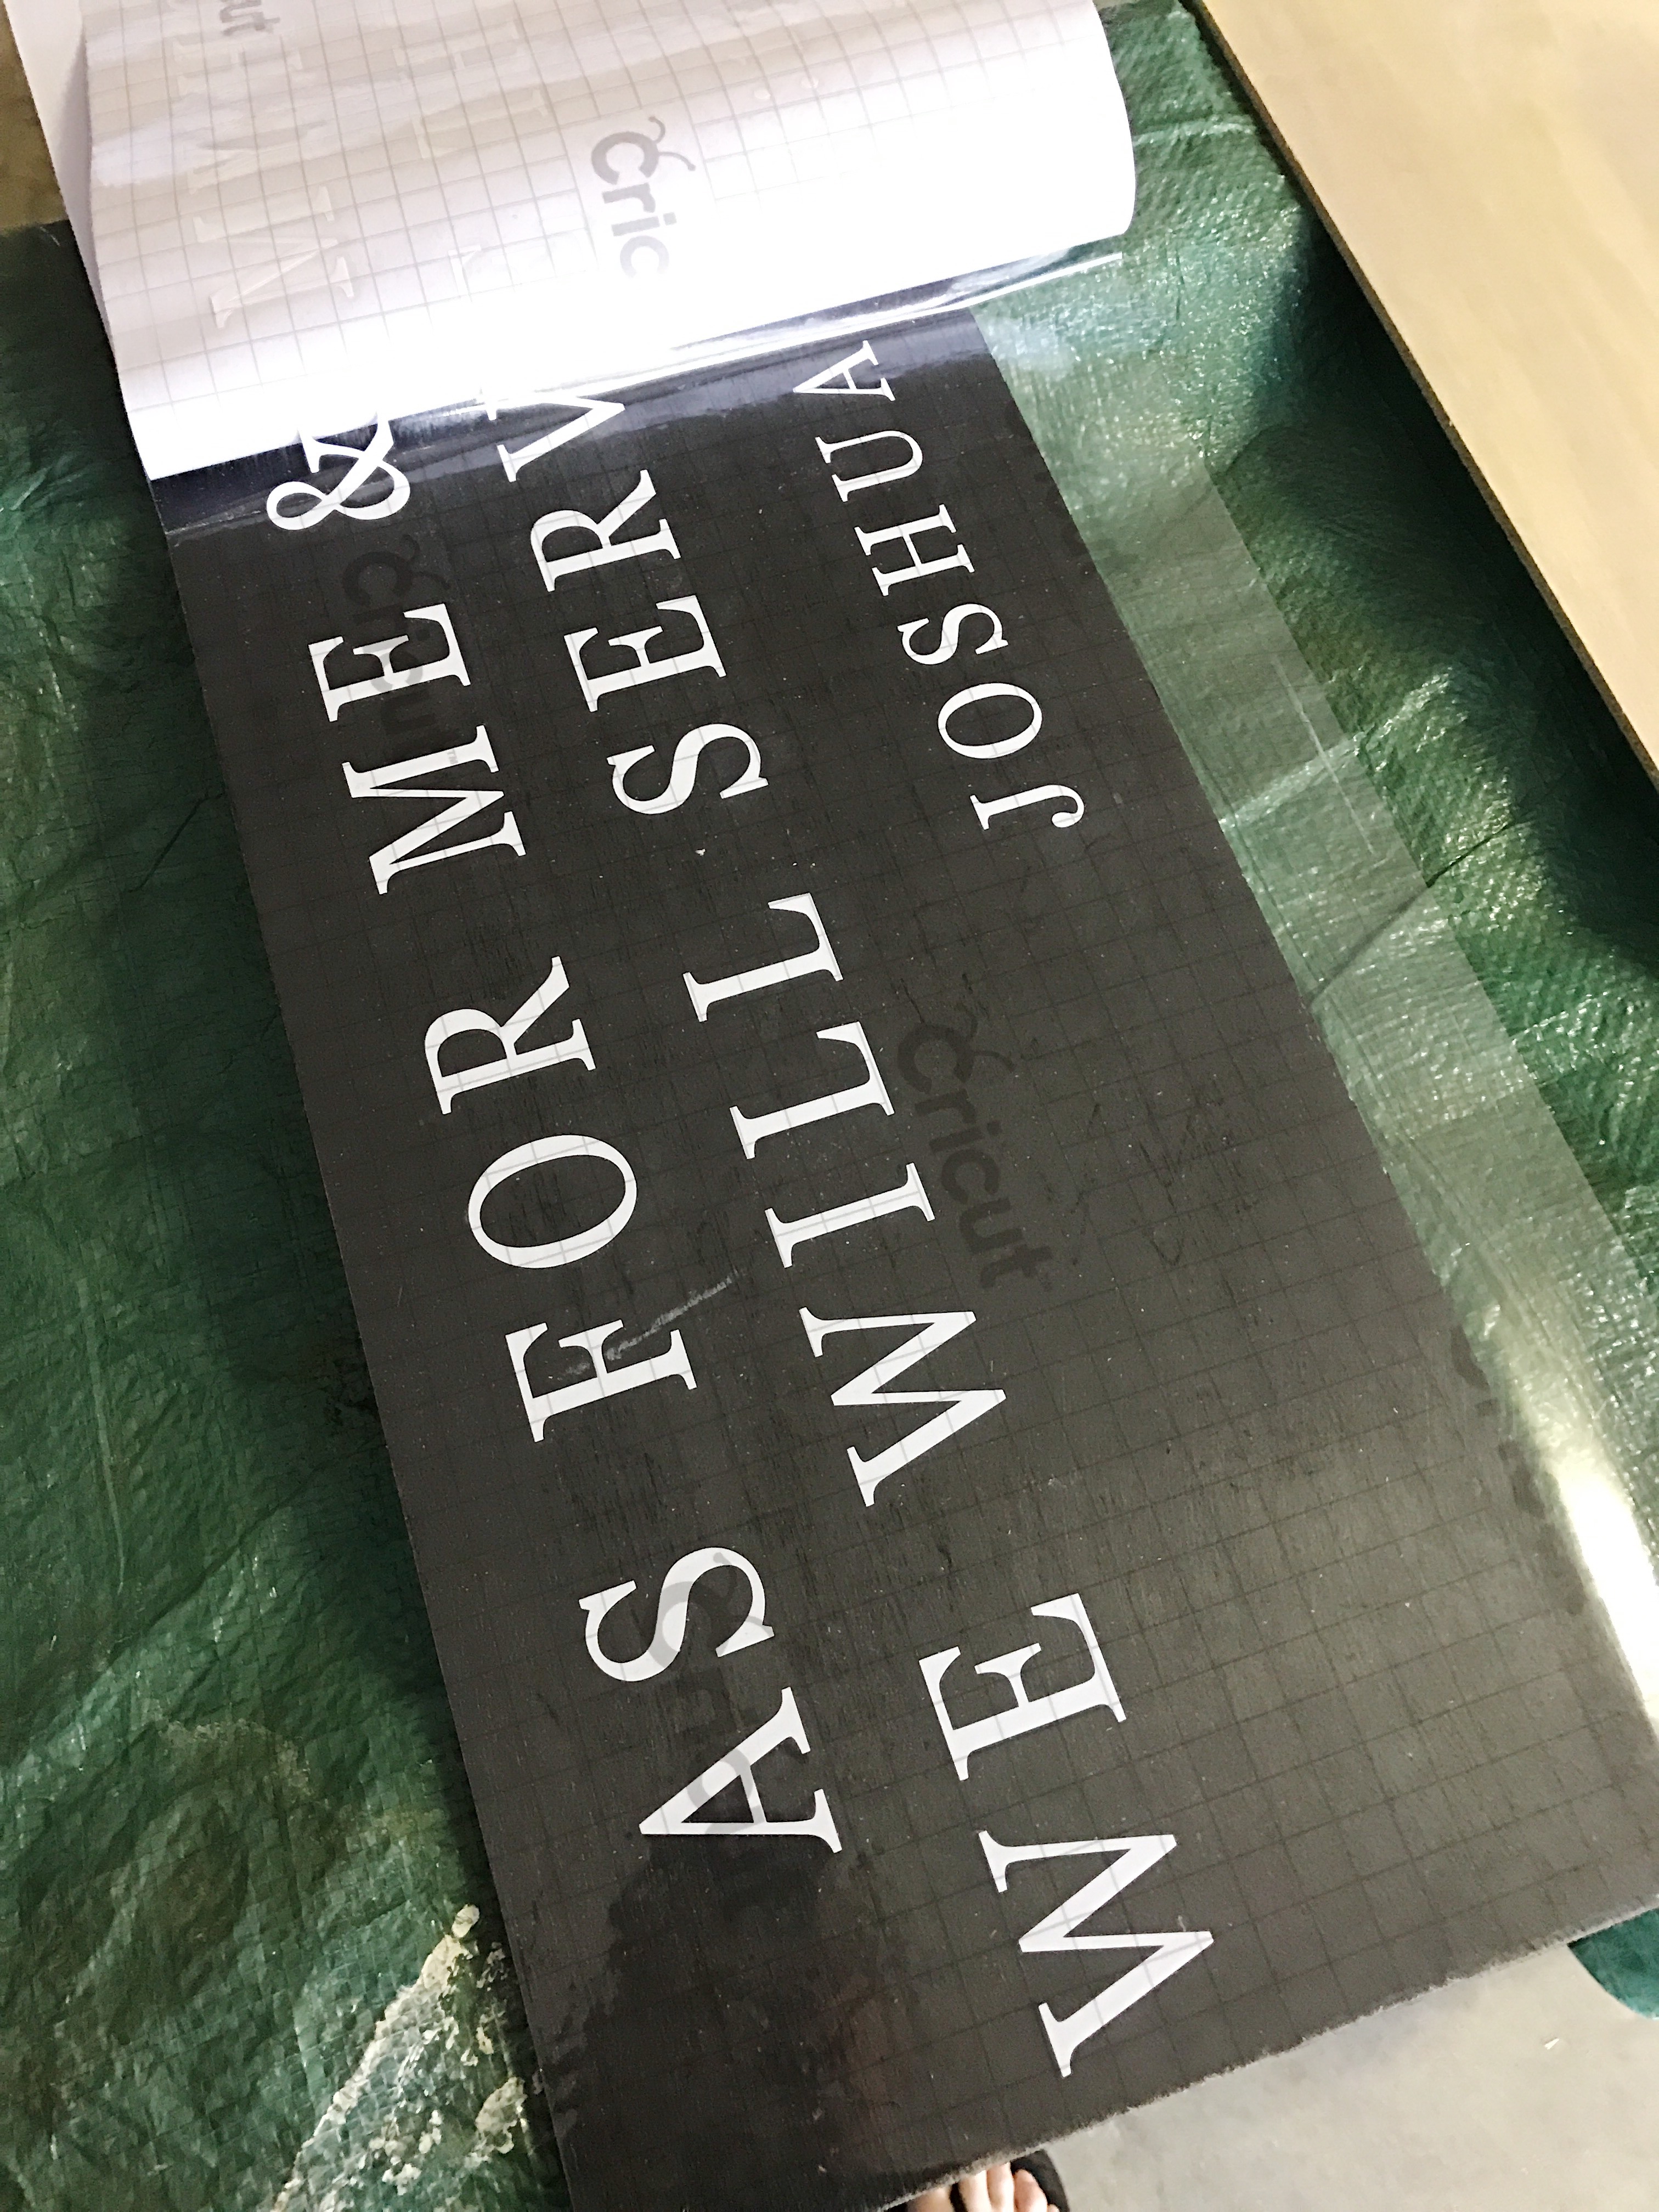
- While you are waiting for your paint to dry, you can get your Gather & Flourish Co. stencil file printed, weeded, and transferred to your transfer tape. For more detailed instructions on the printing your cut file see my tutorial here.
- When your board is dry, remove the vinyl backing paper and place your design on your board.
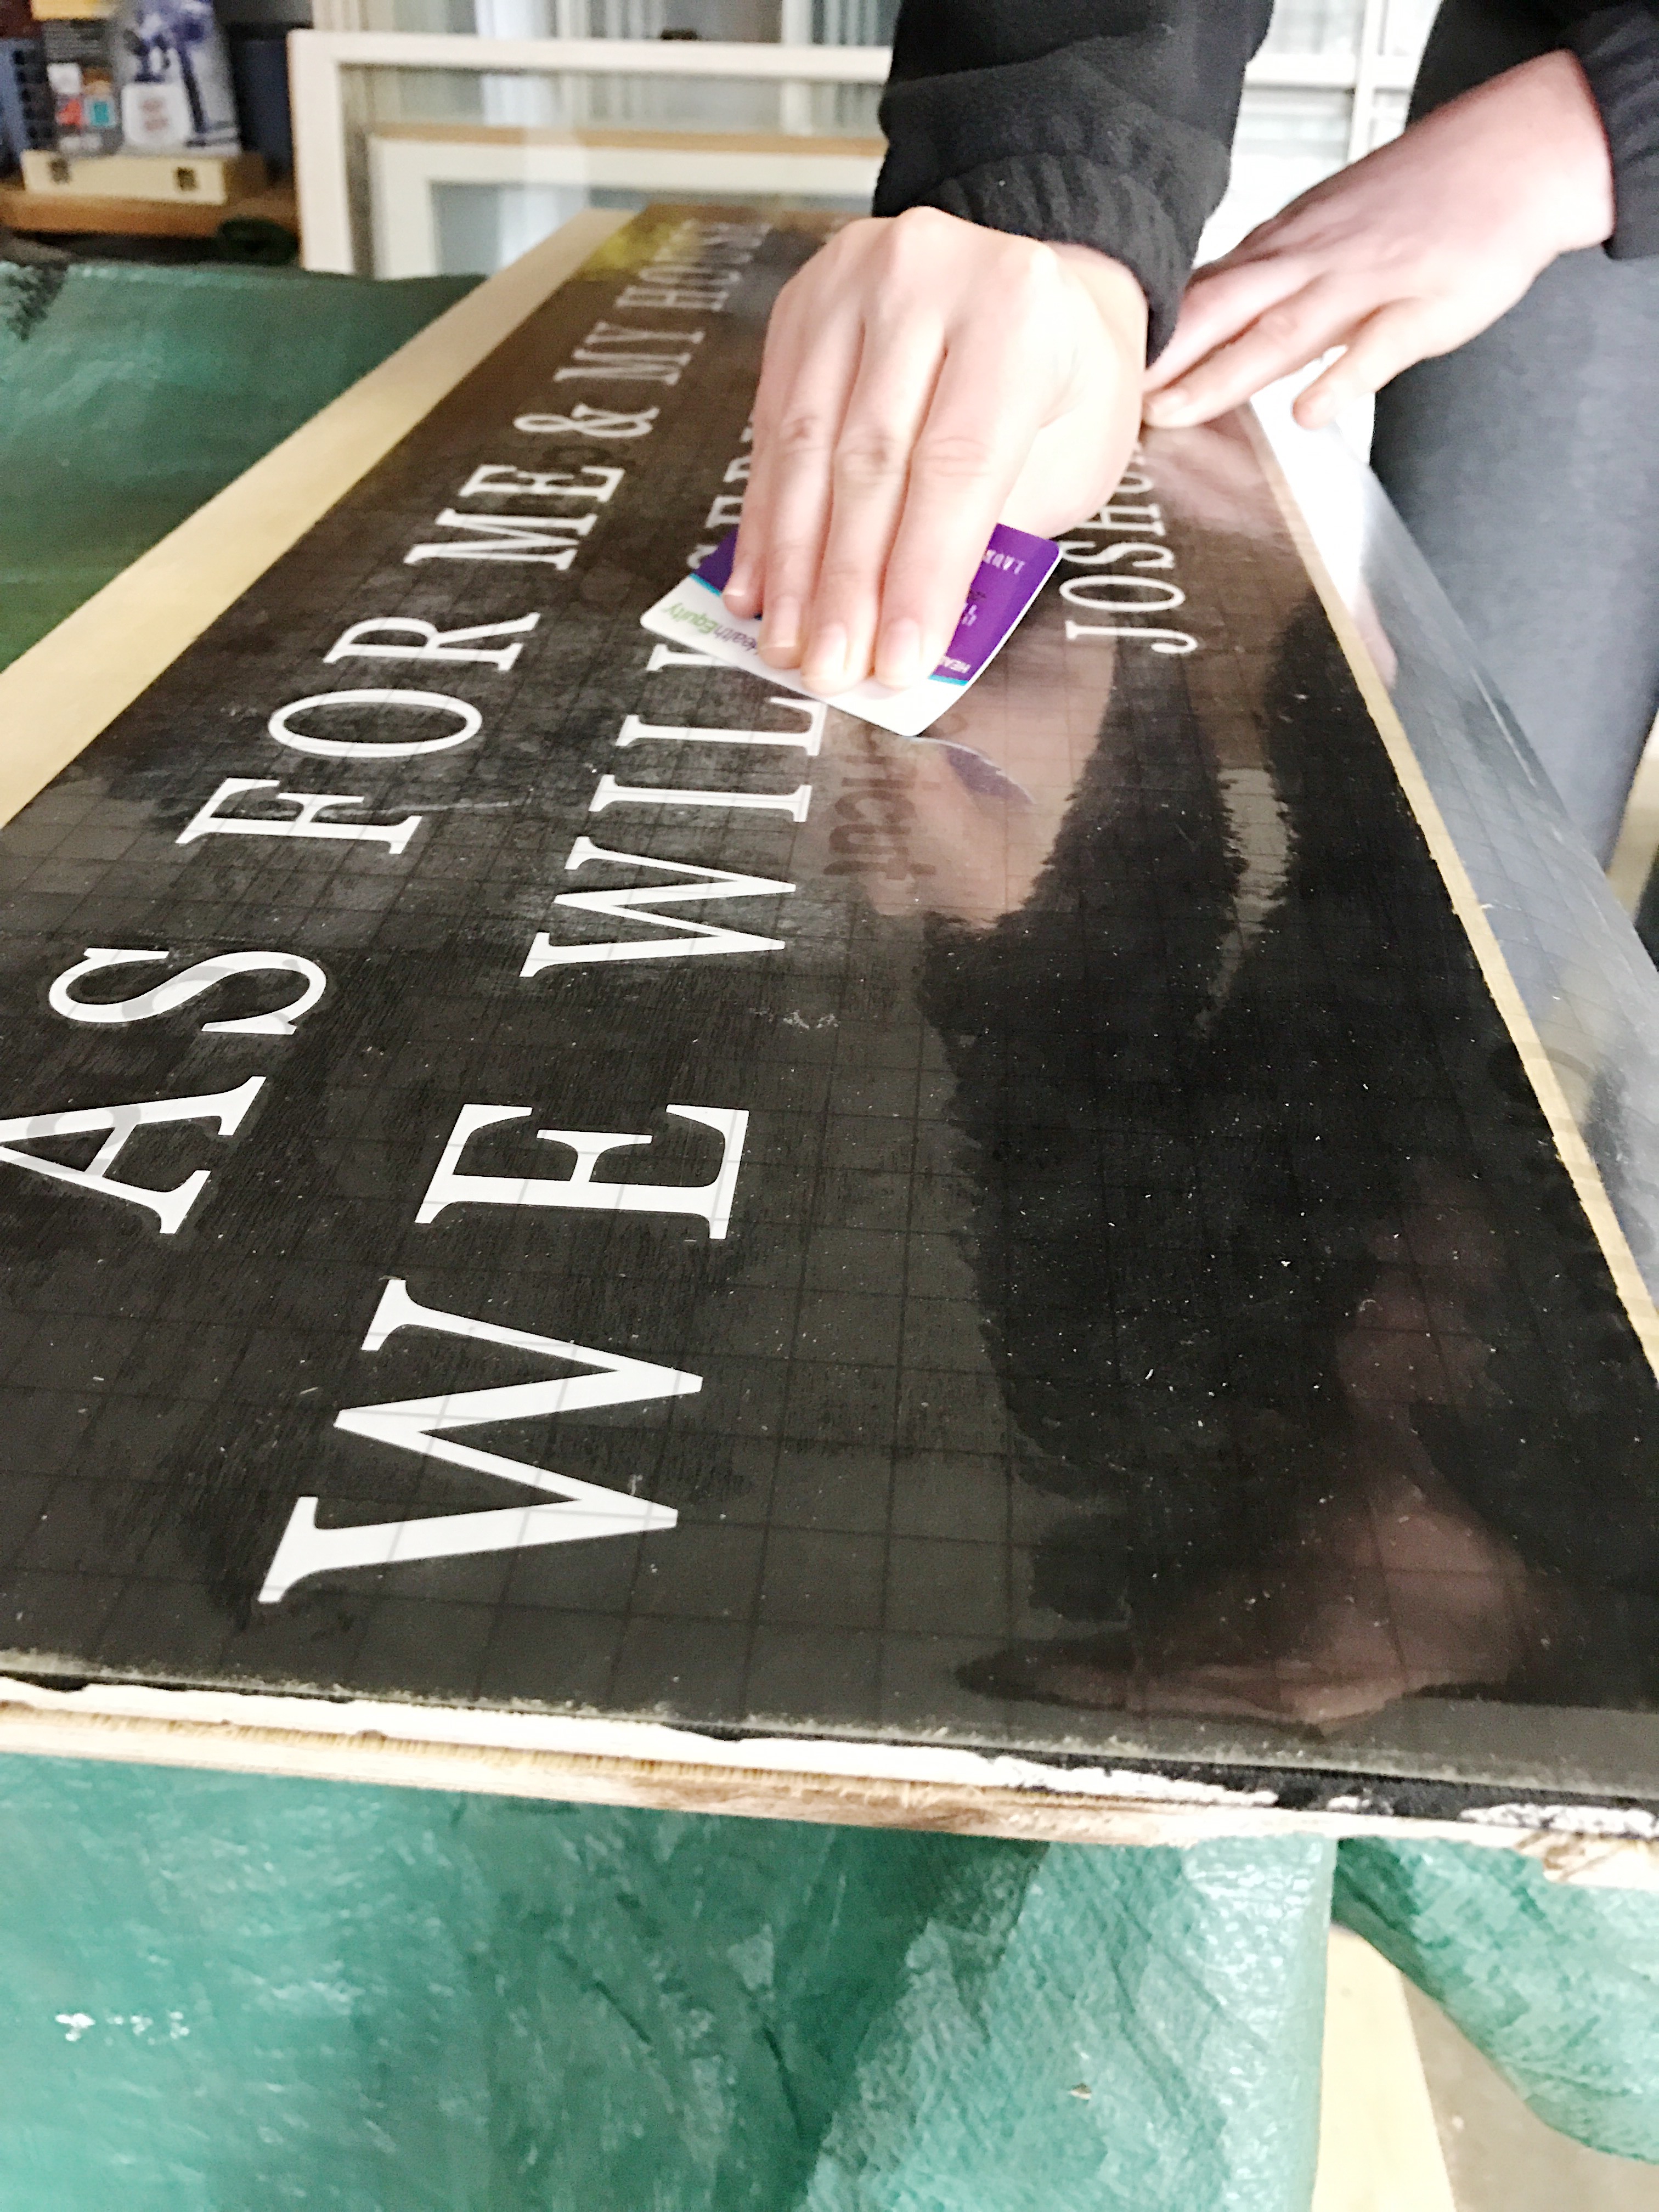
- Use a plastic scraper or old gift card to press the design onto the sign.
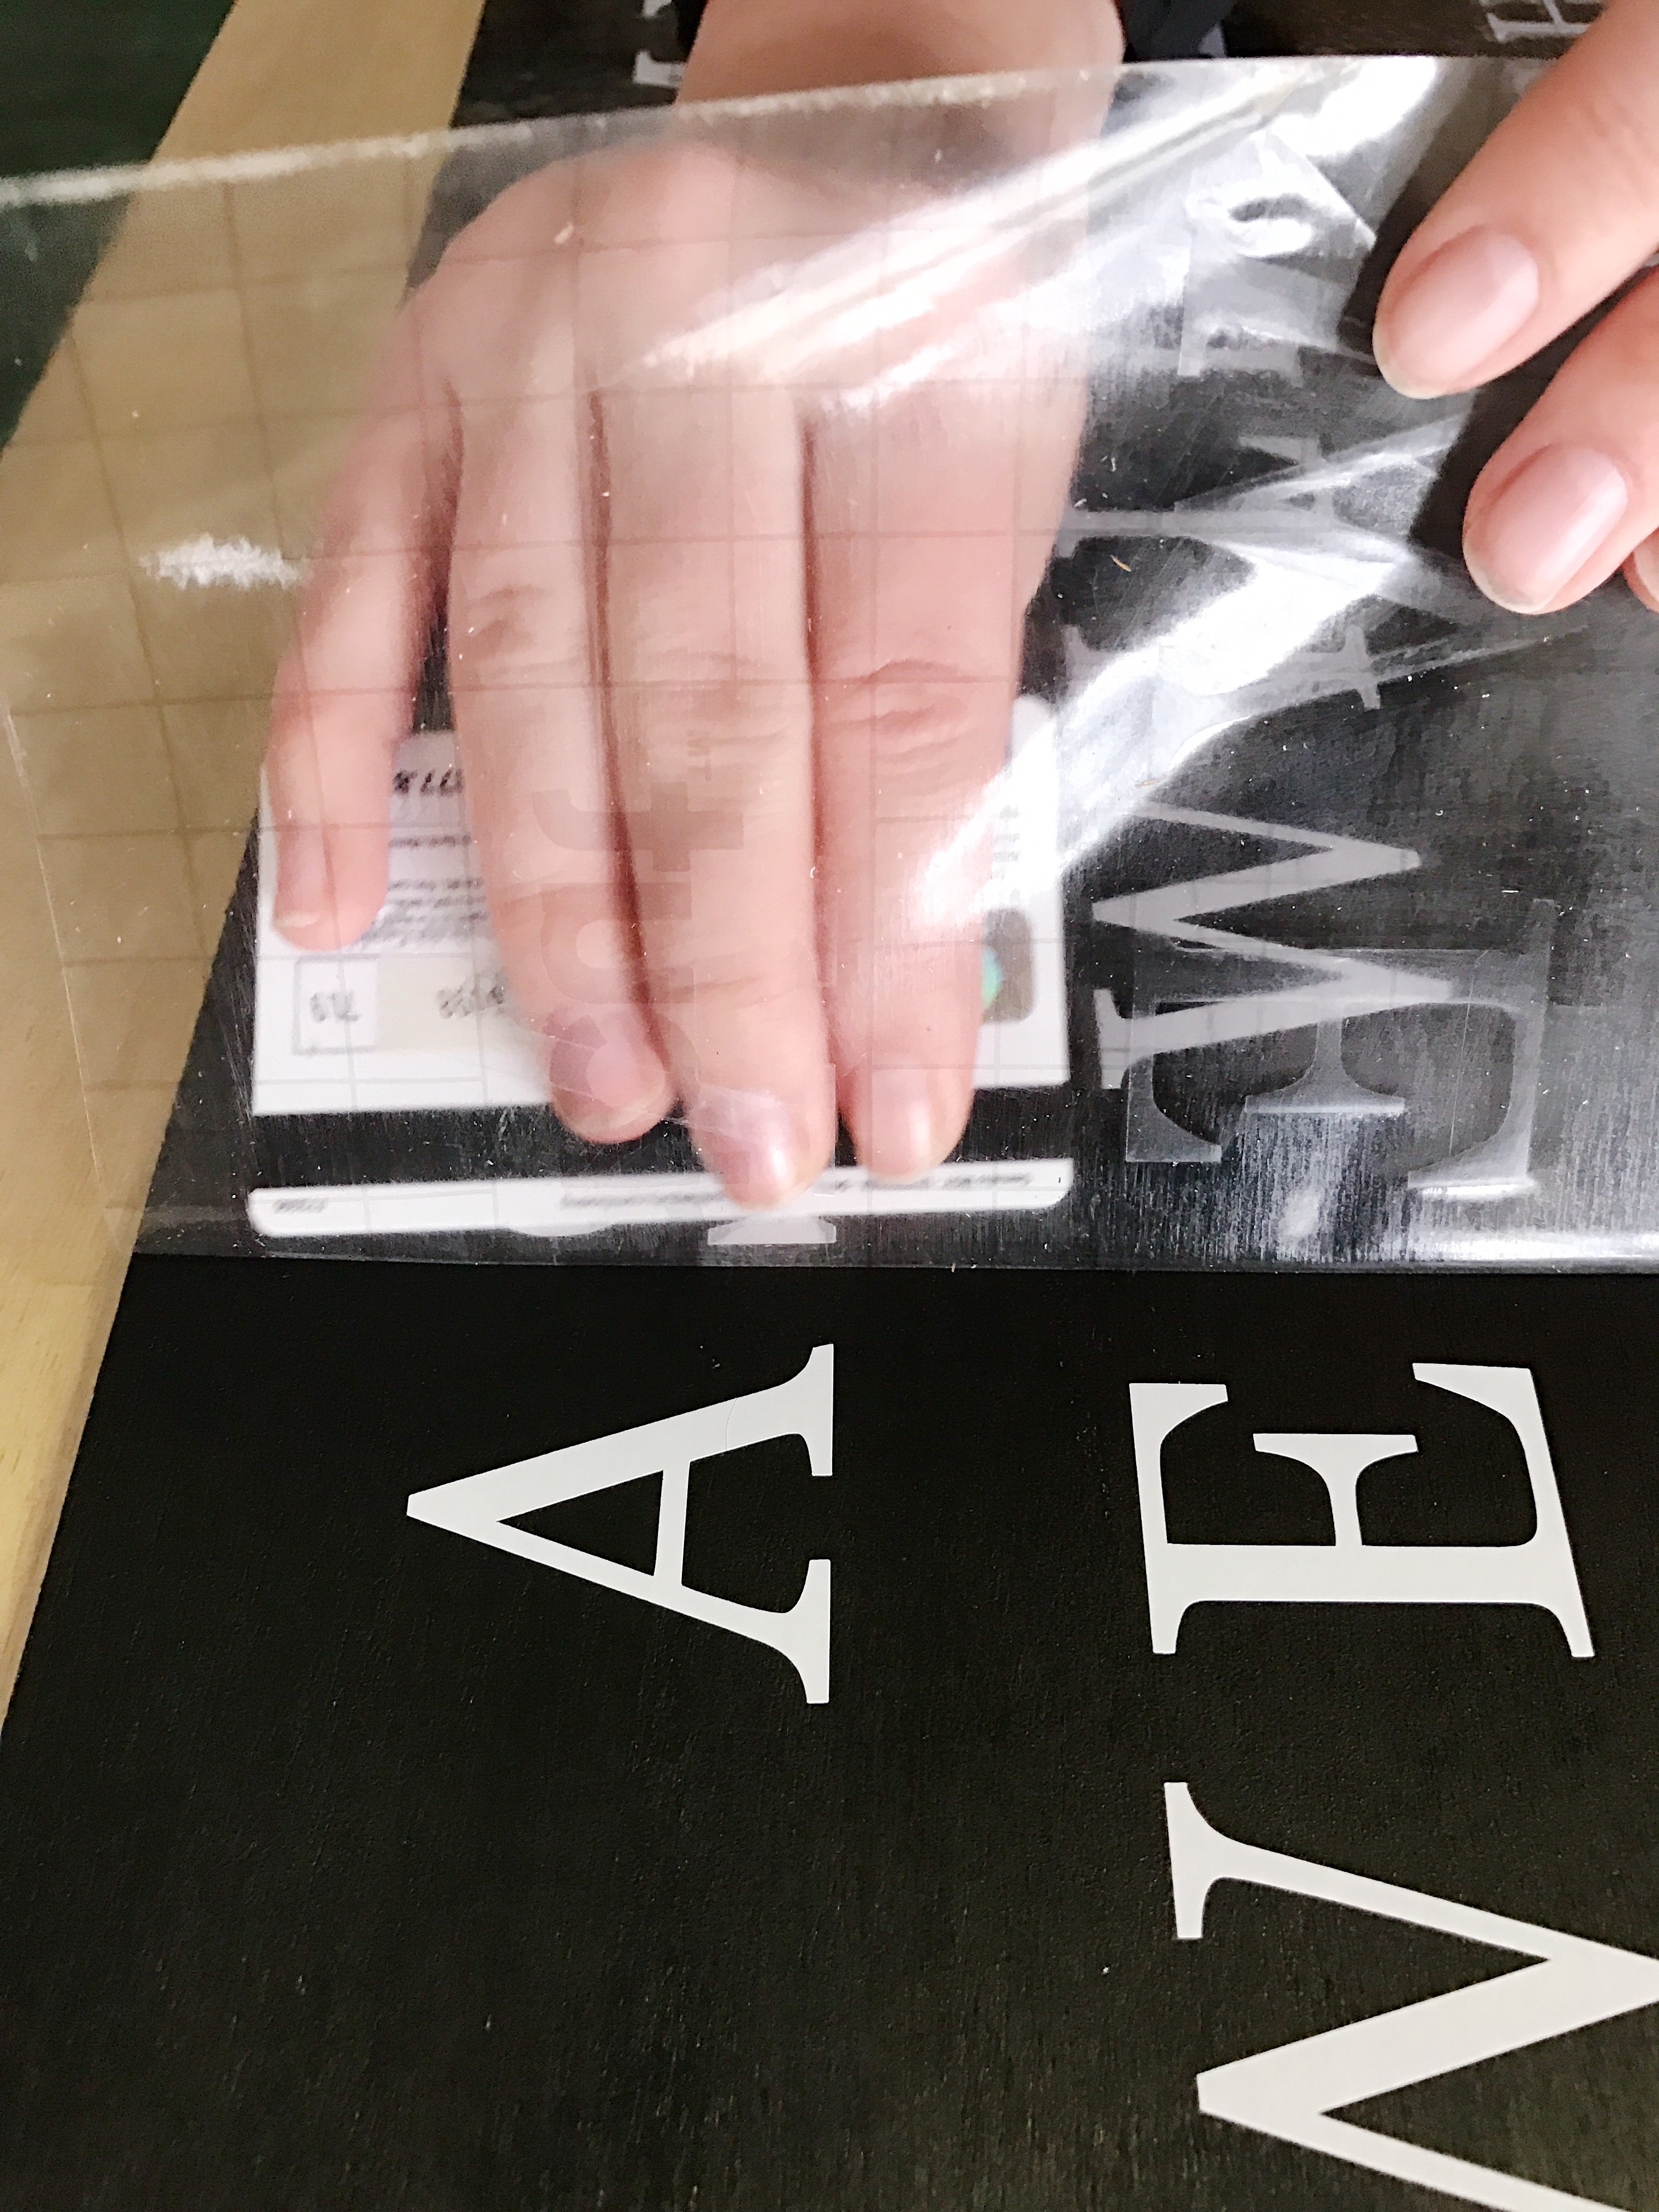
- Remove the transfer tape. (Transfer tape can be used multiple times, so make sure you save the backing so that you can reuse it later!) You may need to follow along with your scraper to really press the letters down if they are coming up with the transfer tape.
- Paint over your design with the black milk paint again. This is very important to prevent the paint from bleeding (that will seal the vinyl so that if anything bleeds it will be black into black). Some people prefer to use clear Mod Podge for this step, that’s fine too. I prefer to use paint because I already have it out, and I have already dirtied my brush.
- Once dry, take your white paint and paint over the entire board. Depending on the look you are going for you make want to do two coats of white. My milk paint has really great coverage, and I knew I wanted to have some distressing/dry brushing so one coat was perfect for me!

- Let dry until your design has set for 10-15 minutes (not fully dry), then begin to peel off the vinyl design. I find a safety pin works great to remove the vinyl letters.
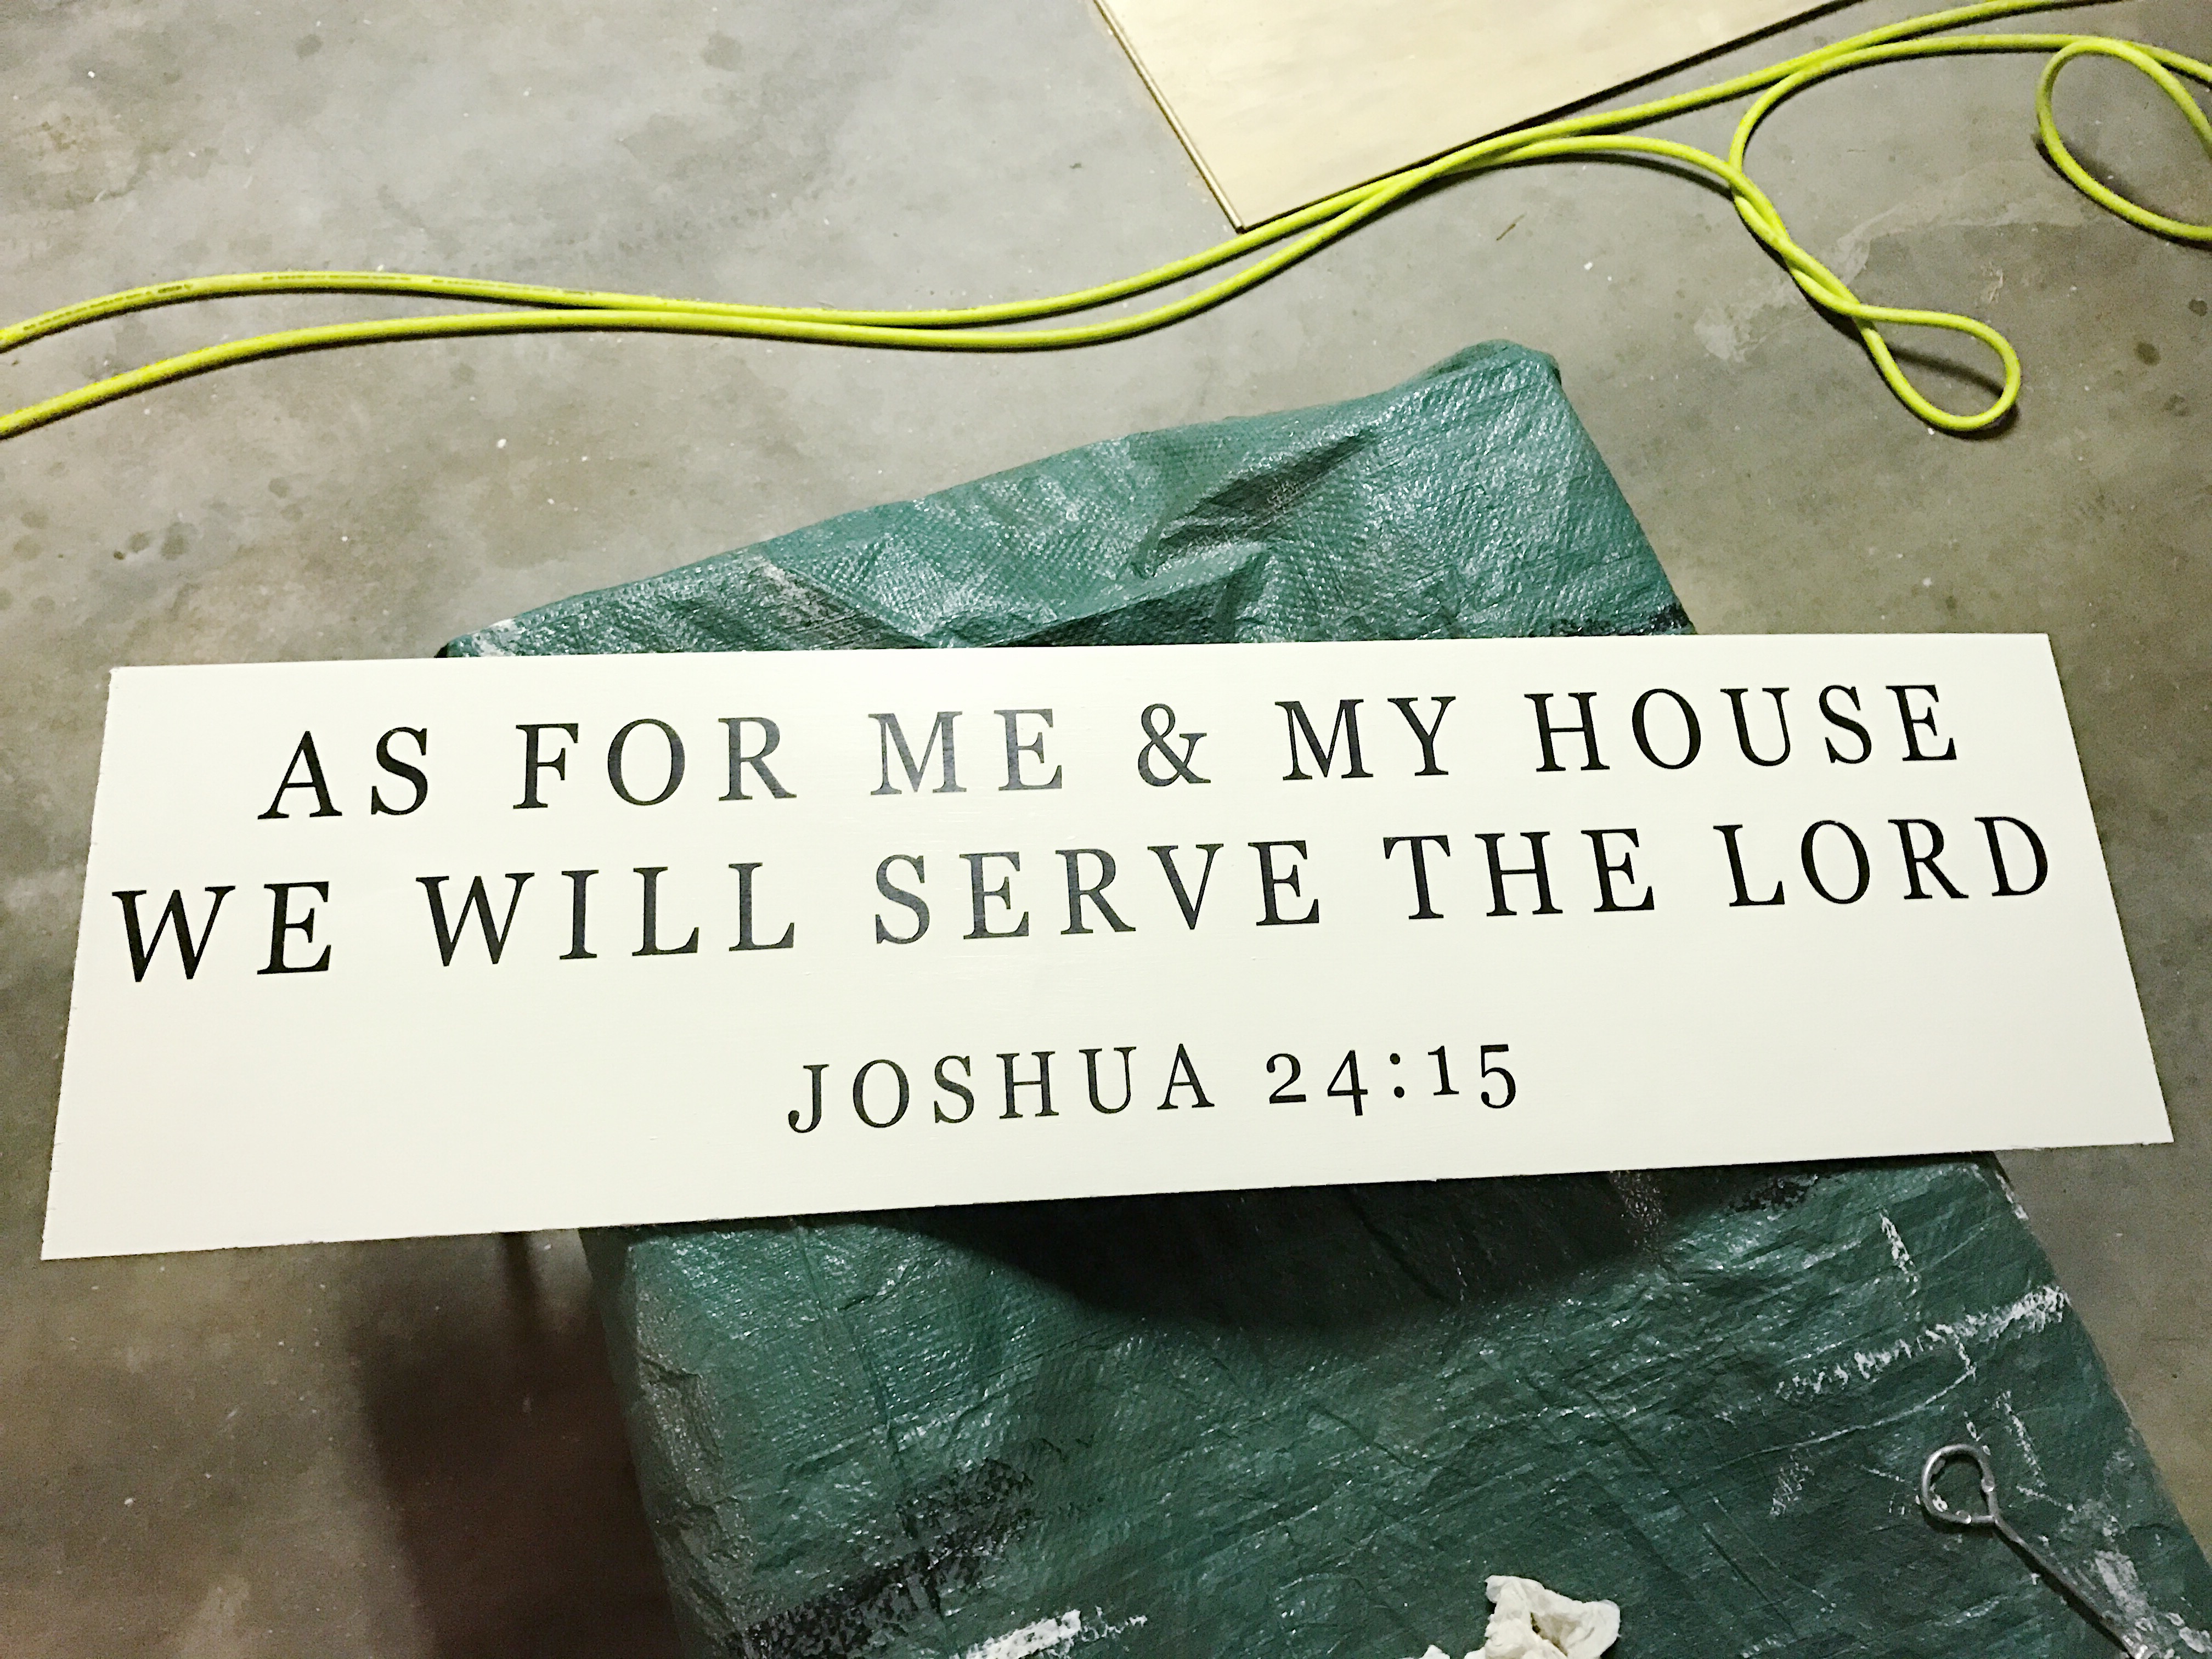
- Let your sign dry completely, then lightly sand to distress (this step is optional).
- **I completely failed to take pictures of these next few steps so please forgive me! For visual instructions see a tutorial here by Jaclyn at One Thousand Oaks.** While your sign is drying, cut your 1″x2″ boards to size. You will need (2) 11″ pieces and (2) 35.25″ pieces.
- Once cut, stain your pieces with dark walnut stain. Then stain them once more with your classic gray stain.
- Take your hammer + nails, or brad nailer, and nail one side piece to the top and bottom pieces. Place your sign inside of the frame (it should fit nice and tight). Attach your final side piece to finish off the frame.
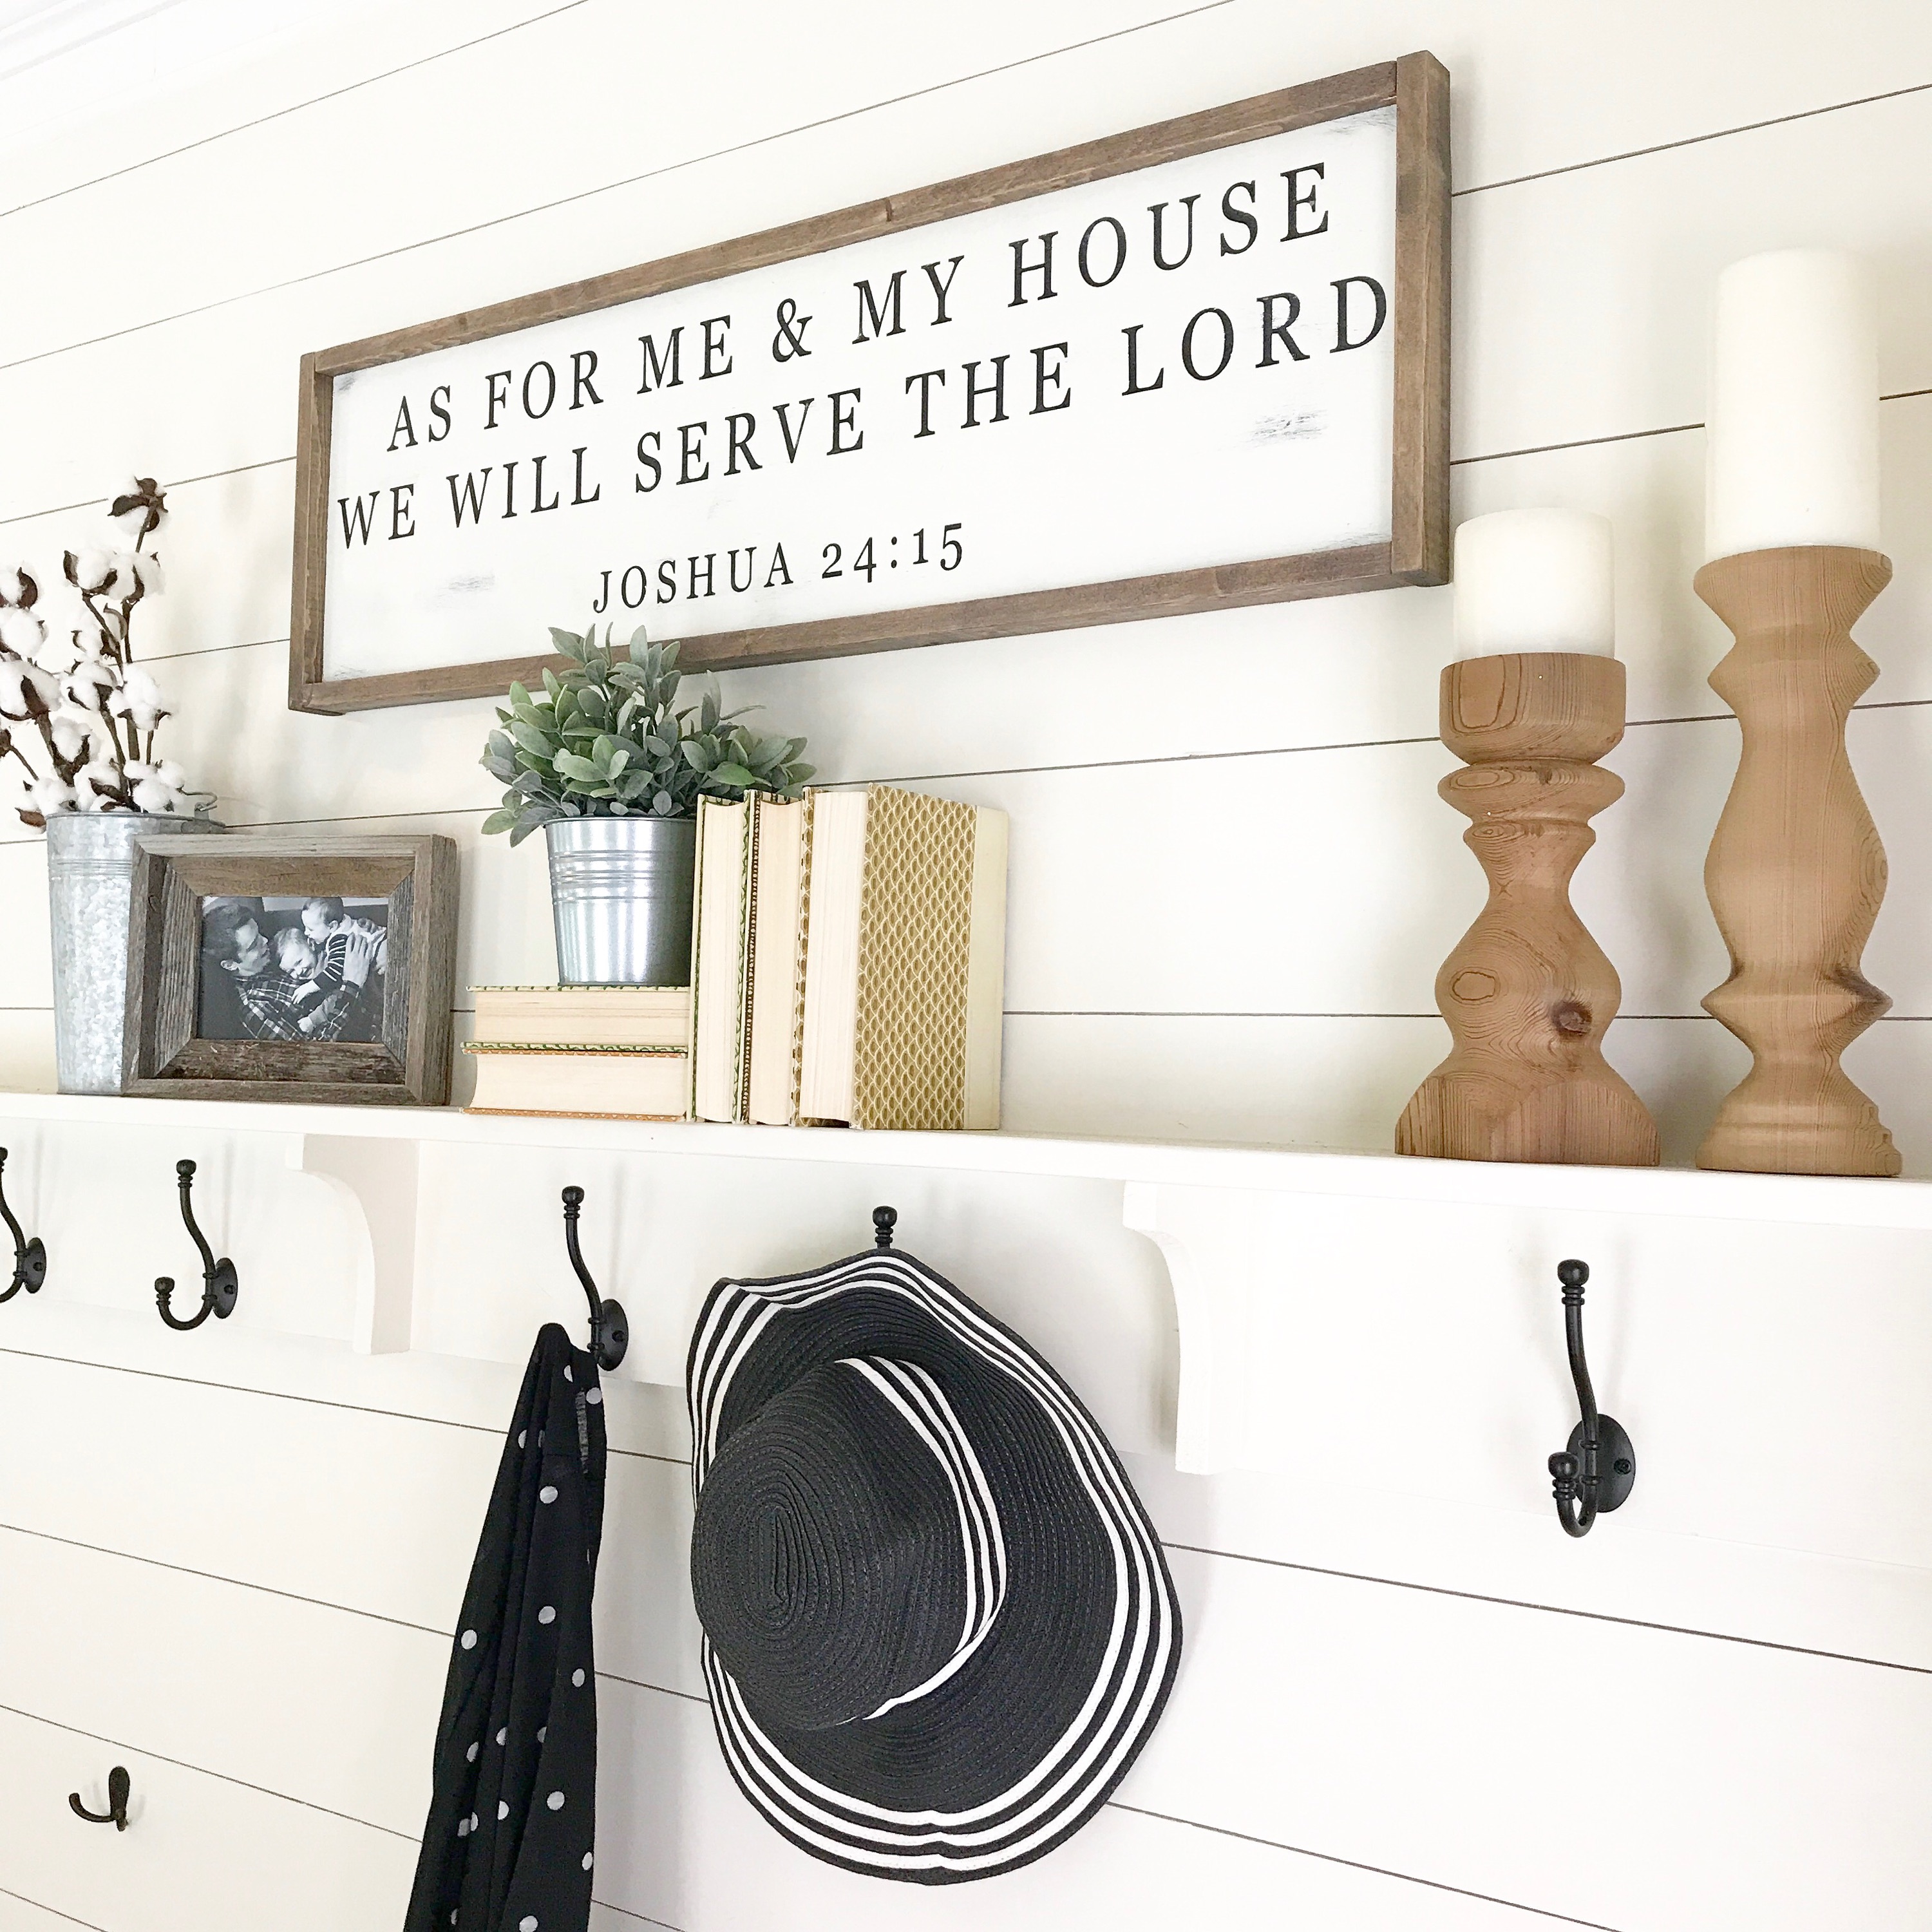
That’s it! Hang & enjoy your DIY Fixer Upper style sign!
Diana says
I totally understand why you’ve been MIA. I had a similar situation but with my website. Technology can be so frustrating! I love this sign though. This is a great tutorial!!
Jessica Vanderveen says
Beautiful, it looks so great! Congrats on the etsy shop too!
Lynnette says
Is it necessary to use milk paint with this project or will any other type of paint work?
Lauren says
Hi Lynnette!
Nope, you can use whatever type of paint you want. I would recommend a type of chalk/milk paint over latex or acrylic paint if you are wanting to do any sort of distressing, because they are much easier to work with for that.